After installing RHEL/CentOS 7 minimal, You may not able to connect network in that machine. This will happen because Ethernet interfaces are not enabled by default.
This guide explain you to setup network on RHEL/CentOS 7.
This guide explain you to setup network on RHEL/CentOS 7.
Setup network on CentOS 7 minimal
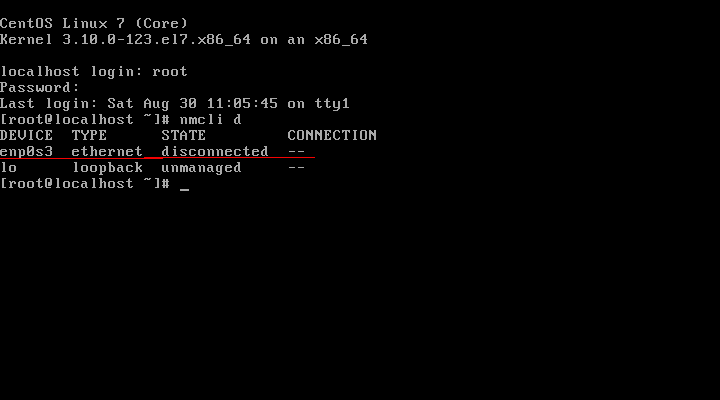
First, type “nmcli d” command in your terminal for quick list ethernet card installed on your machine:
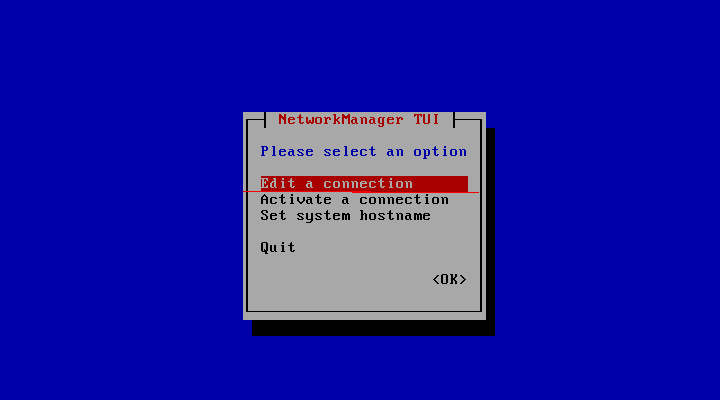
Type “nmtui” command in your terminal to open Network manager. After opening Network manager chose “Edit connection” and press Enter (Use TAB button for choosing options).
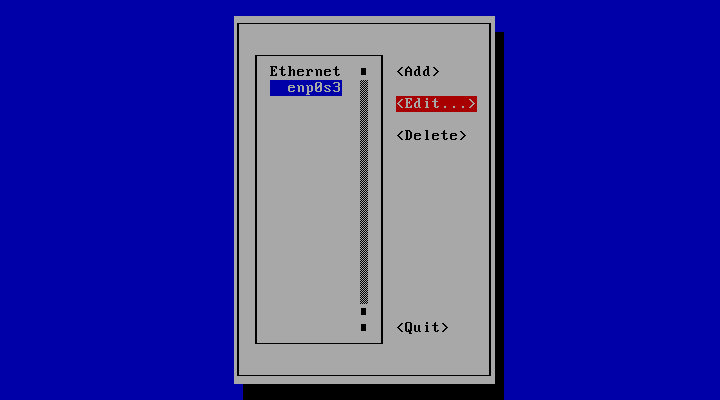
Now choose you network interfaces and click “Edit”
DHCP configuration
Choose “Automatic” in IPv4 CONFIGURATION and check Automatically connect check box and press OK and quit from Network manager.

Reset network services:
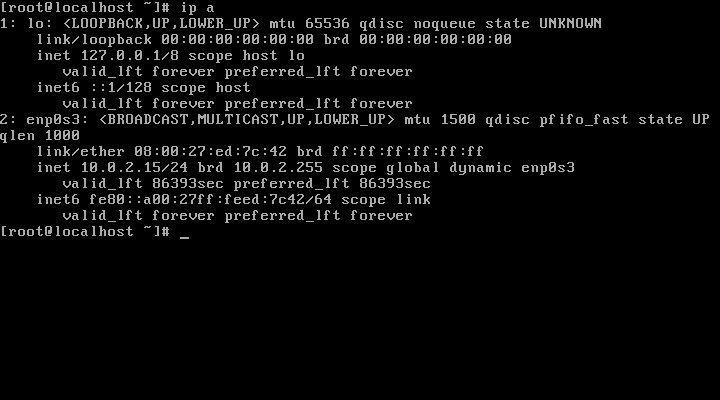
Now your server will get IP Address from DHCP .
In this small tutorial i will explain how to configure static ip address on CentOS 7 minimal.
First, need to edit the set up for the ethernet. Let’s start with editing “/etc/sysconfig/network-scripts/ifcfg-enp0s3″ file:
First, need to edit the set up for the ethernet. Let’s start with editing “/etc/sysconfig/network-scripts/ifcfg-enp0s3″ file:
Save and exit.